
At this point you have everything you need to record in your home recording studio. Now you'll gain the means to combine all the tracks onto two for a stereo mix. You will only need a few more items for this to be done effectively. Here we go.
Ingredients: The equipment with which you will listen to the music.>
Steps: We talked about this before, so now I'll add details: In cheap monitoring situations, you don't get what you hear. Why not just use stereo speakers? they lie They are specifically built to enhance certain frequencies and cut others, so that they sound good. That's as it should be, because the average music listener wants to buy speakers that make their music sound good. Makes sense.
But when you are mixing, you need monitor speakers which are built for accuracy. I've mixed on cheaper speakers and felt that what I got was great, until I actually played back the CD on my home player. It was so way off! Arghh. Get monitors that have a wide and flat frequency response. That means that they will let you hear exactly what has been recorded. For the home studio, which usually won't have fancy soundproofing done, look for " near field" monitors, which you will place closer to your mixing console. They are meant to avoid room reverberation issues.
Some like to use headphones for mixing. Not recommended, because headphones also tend to flatter the sound.
Monitor speakers come in a number of varieties as well.
Monitors that have their own built in power supply, called " powered monitors" , are most convenient. Otherwise, you'll need an amplifier to send the signal to the monitors.
 2. Get your digital signal processors .
Steps: To create the studio spacial aura around your tracks, to control volume irregularities, and to mould the sounds, you will need three different types of effects. The first are those effects that create the impression of space.
Get a processor or software plug-in for and chorus These are the most useful effects. They create echoes to give the feeling of the singer or instrumentalist in a room or hall. Chorus basically thickens the sound, and goes great on backing vocals.
The second type is compression, which smooths out the volume so that you don't have sudden loud parts followed by inaudible soft sounds. The third is called equalization, and it allows you to make a sound more treble or bass, by boosting or cutting different frequencies. There are also more specialized types of effects out their, such as harmonizers and a exciters Check the product links for more possibilities.
Most digital multitracks and sequencing programs have all these functions built in. The quality may vary, but the basics are already there. If you seek professional quality effects, then by all means go in search of digital signal processors, compressors and equalizers (eq).
Digital Signal Processors - Multi Effects and MoreQuality: Lexicon Stereo Reverb Effects Processor with USBAll parameters of every reverb, delay and dynamic effect in this powerhouse processor are available inside any PC VST® or Macintosh® AU compatible DAW program. |
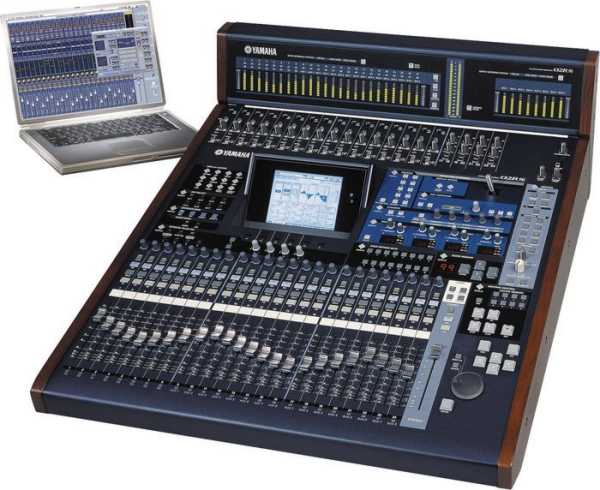
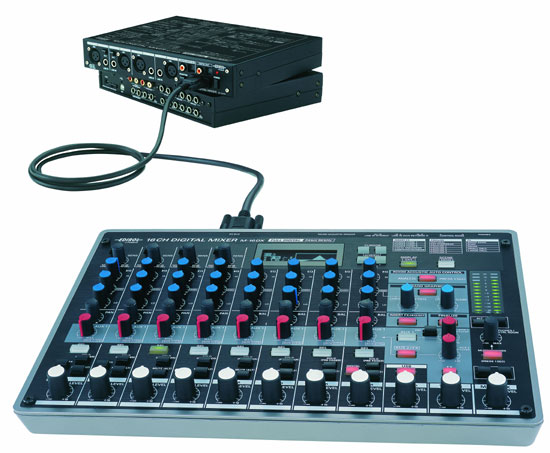 3. Get your mixer
 Steps: If you've got tracks outside your computer, you will need to combine them to stereo for your final mix. Choose a mixer with enough channels for the music you plan to record. If you've got an eight piece band plus singers, an 8 channel mixer won't be enough. A mixer with onboard digital effects, reverbs, compression and equalization can take the place of a number of other signal processors.
Some mixers are digital, meaning that they translate analog audio into digital. They have functions such as scene memory, so you can leave a mix and come back to it three projects later and recall the settings. More advanced ones have full automation, allowing you to actually record all those fader movements for futire remixing.
Analog mixers don't have all those frills, but cost less. Many do have onboard effects, only they lack a lot of the automation features.
Steps: Here again you may already have what you need. Ideally, you want something that can record in synchronization with the playback, so you can do punches in and out during your mixing. That's why I recommend setting aside two tracks on your multitracker, using them as the mixers destination tracks. If you do that, you've already got what you need.
Alternatively, you can mix down to the multitrack sequencer program in your computer. That should also be synced and ready to go.
If not, you can get an audio recording program that can record stereo audio. Again, see if there's a way to sync it to the master, so you can punch in if you need to during the mix.
Mixdown Recorders |
Now that you've got what you need, here's how it could work.